

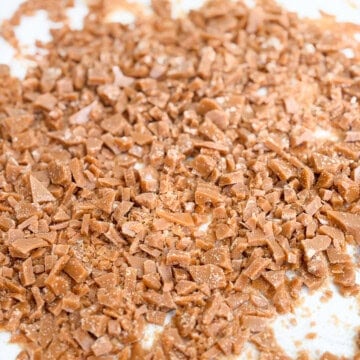
Homemade toffee bits come together in about 15 minutes with 3 ingredients you probably already have in your pantry. No candy molds, no special equipment, and no experience required. Just butter, brown sugar, salt and a little patience while you whisk.
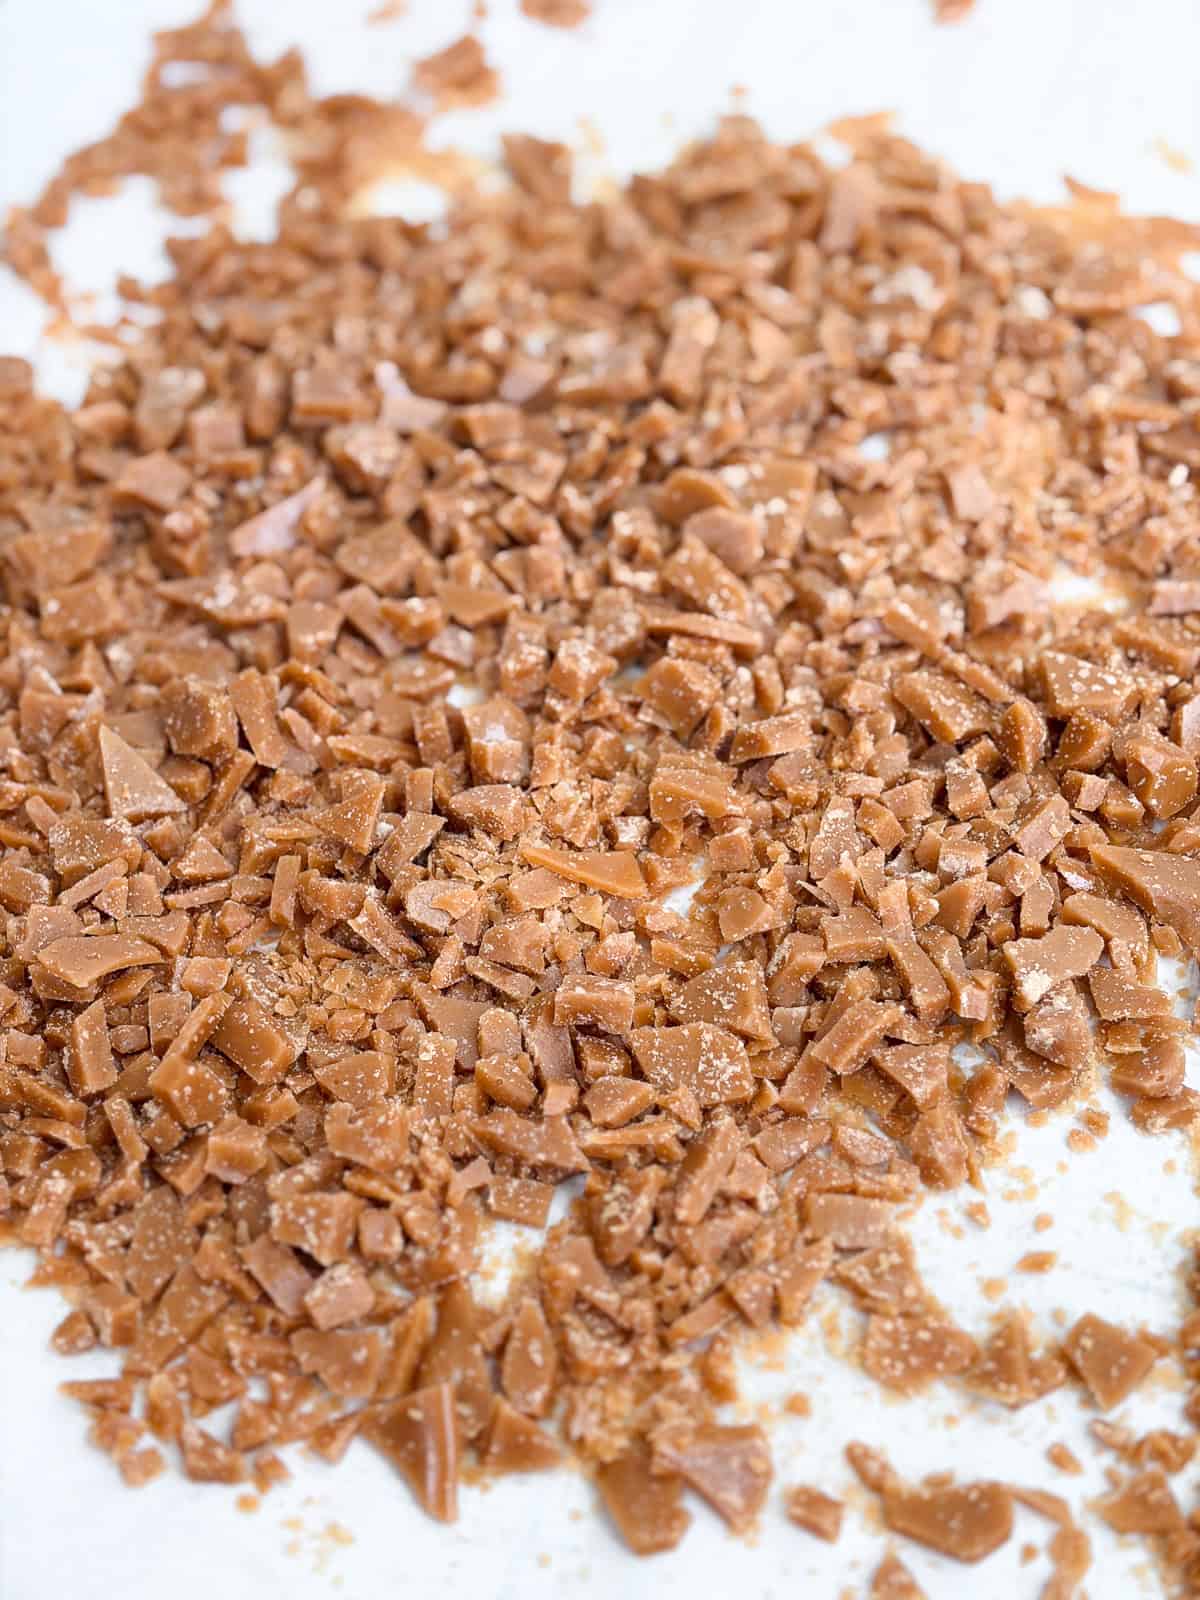
Homemade toffee bits truly are one of those simple add-ins that makes every bake taste better. Once you know how easy they are, you'll want to keep a jar of them on hand at all times and put them in or on everything!
I started making these when I wanted to add toffee to a recipe but didn't want to run to the store. Now I make them on purpose because they're just better. Richer, butterier, and easy to customize with a little extra flaked salt on top. My Peanut Butter Pie with Chocolate Ganache uses them and every single time people ask what's in it.
Jump to:
Why You Will Love This Recipe
- Only 3 Ingredients: Butter, brown sugar, and salt. That's it. You almost certainly have everything you need right now.
- Quick to Make: From start to finish you're looking at about 15 minutes, plus a little cooling time.
- Better Than Store Bought: These are richer and more buttery than the heath ones you can buy. Once you make them yourself, the bag just doesn't compare.
Ingredient Notes
Full ingredient measurements and instructions can be found in the recipe card below.
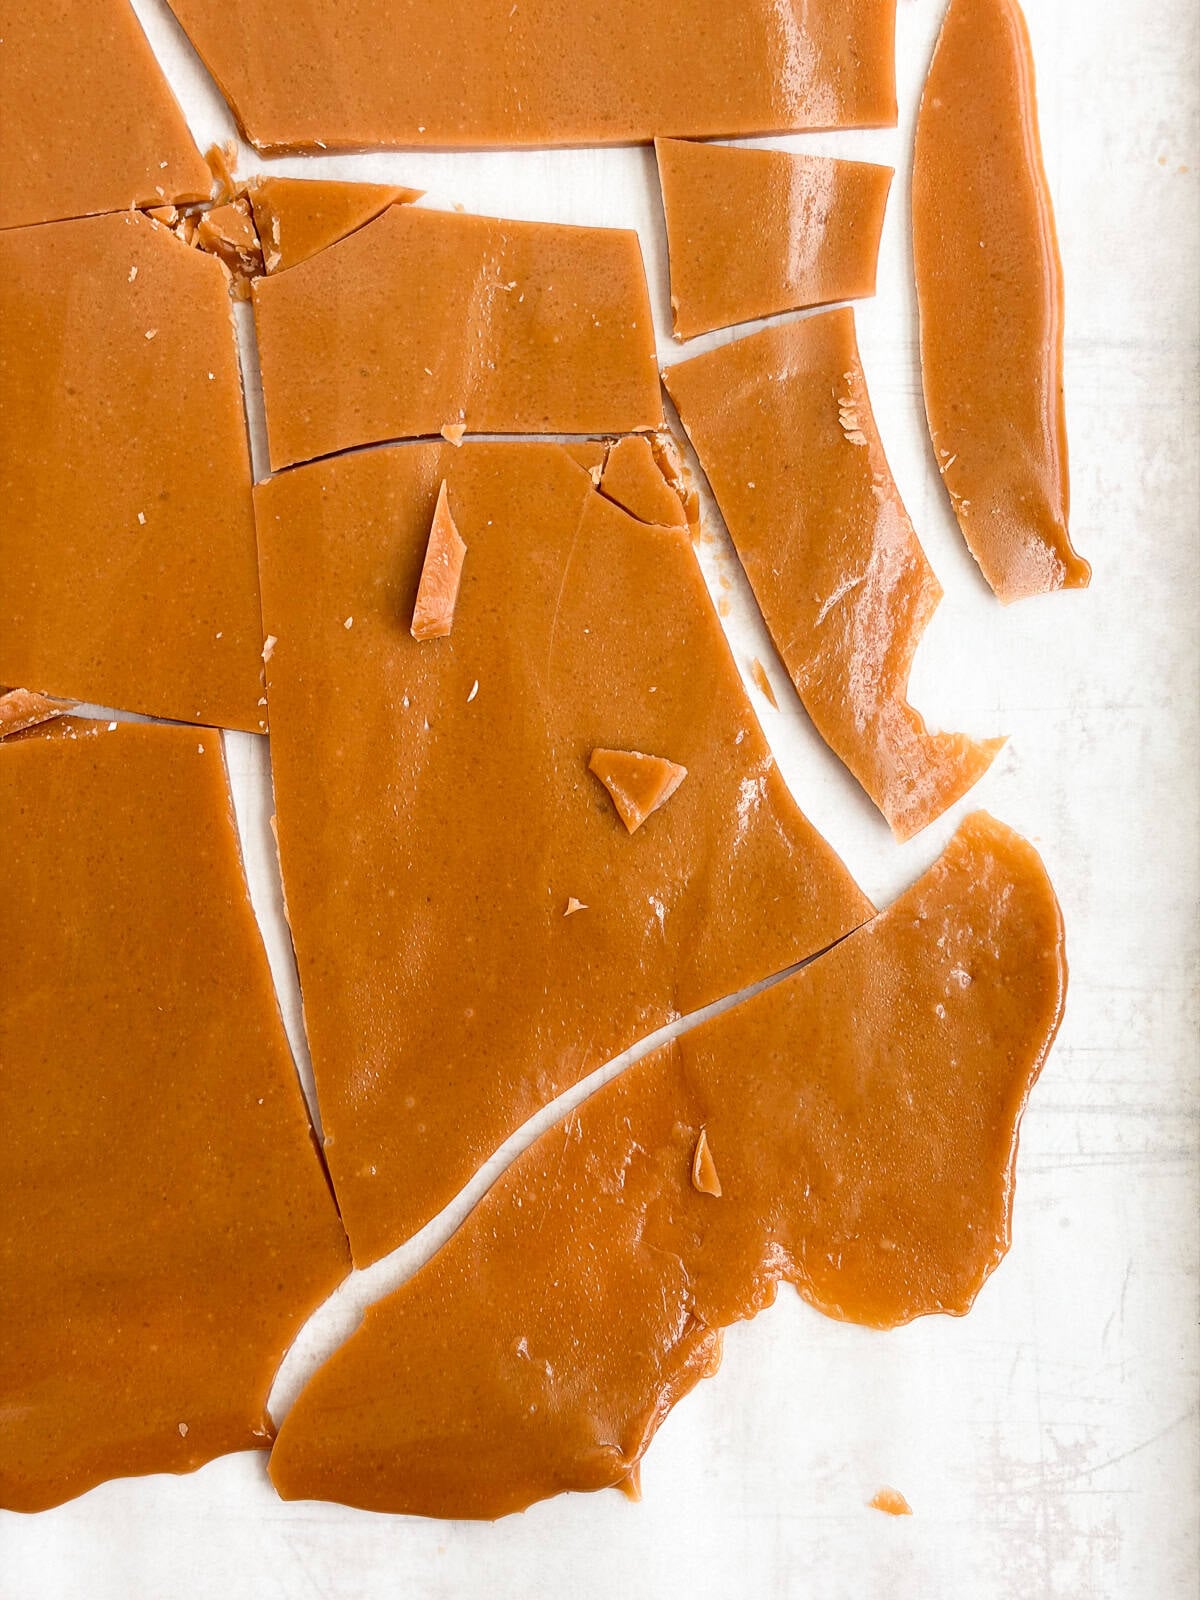
- Butter: Use salted butter here. It adds flavor and helps balance out all that sweetness from the brown sugar.
- Brown Sugar: This is what gives toffee its deep caramel flavor. You can use light or dark brown sugar.
- Salt: A teaspoon goes right into the toffee, but feel free to sprinkle a little flaked salt on top after you pour it out for an extra salty-sweet finish.
Step by Step Instructions
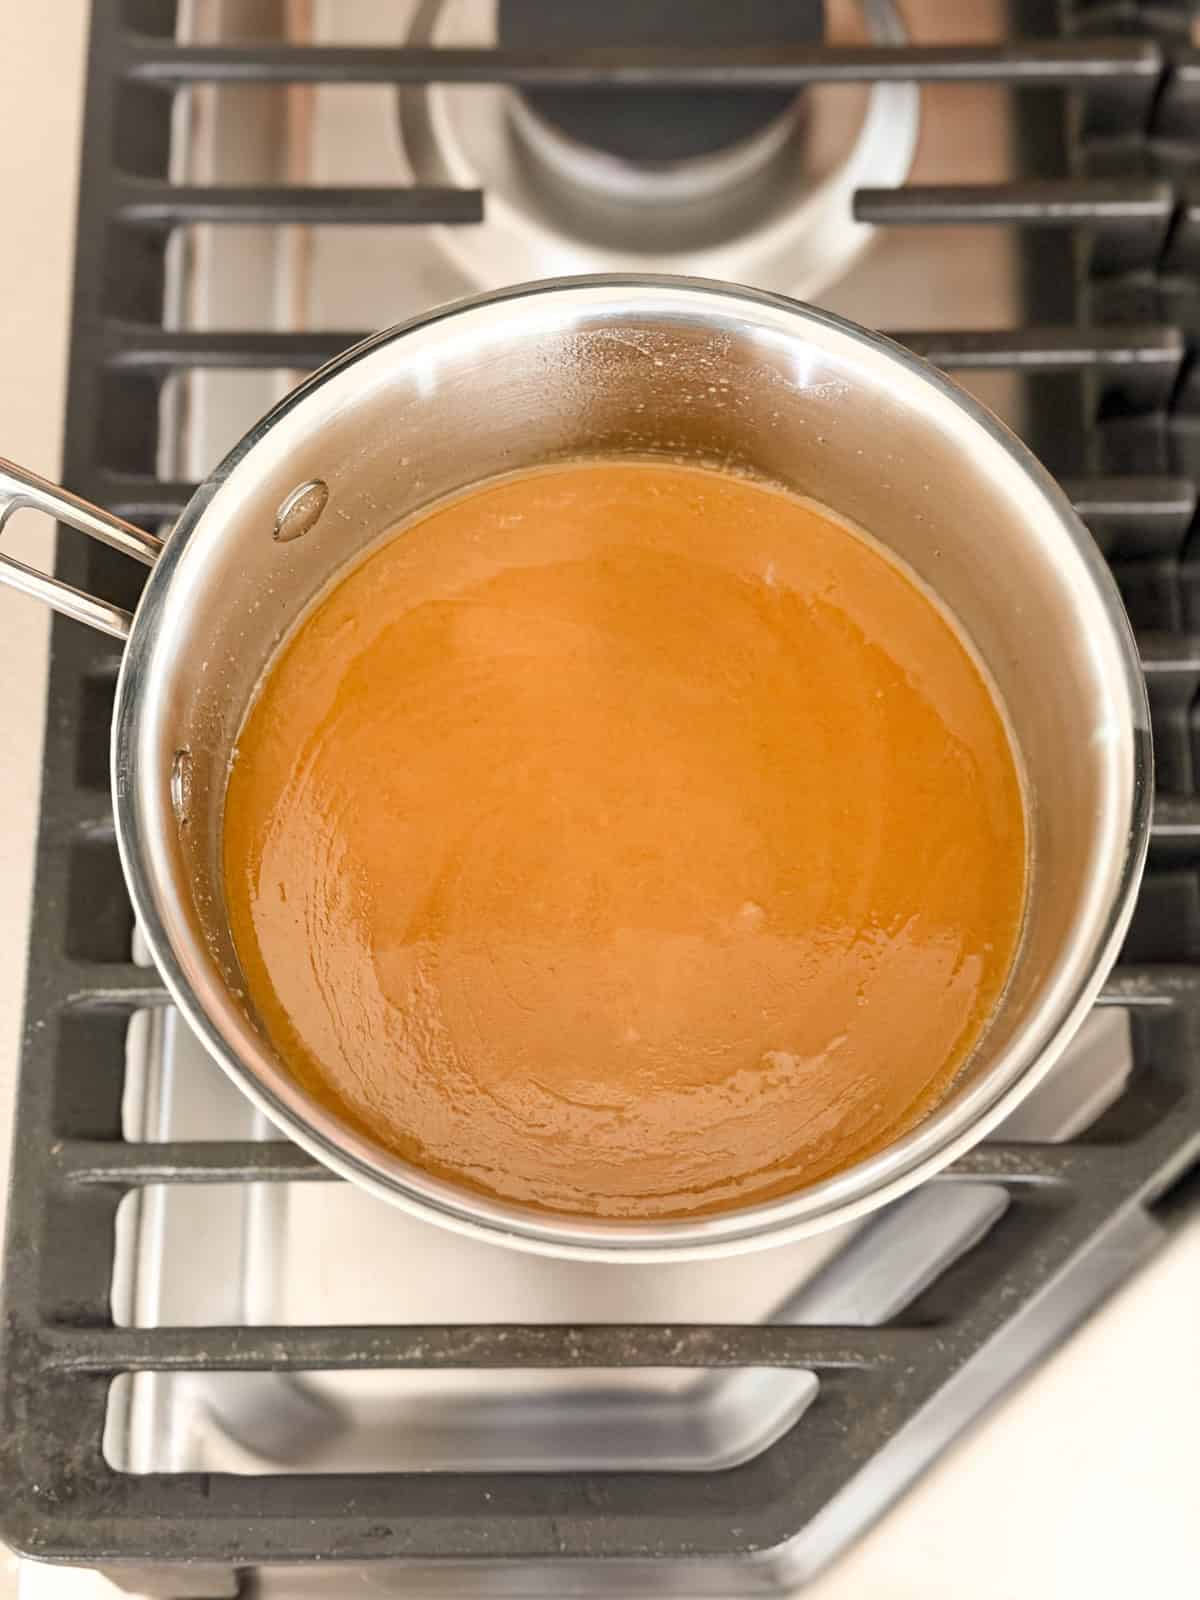
- Step 1: Place your butter in a small saucepan and melt over medium heat. Once mostly melted, add in the brown sugar and salt and start whisking.
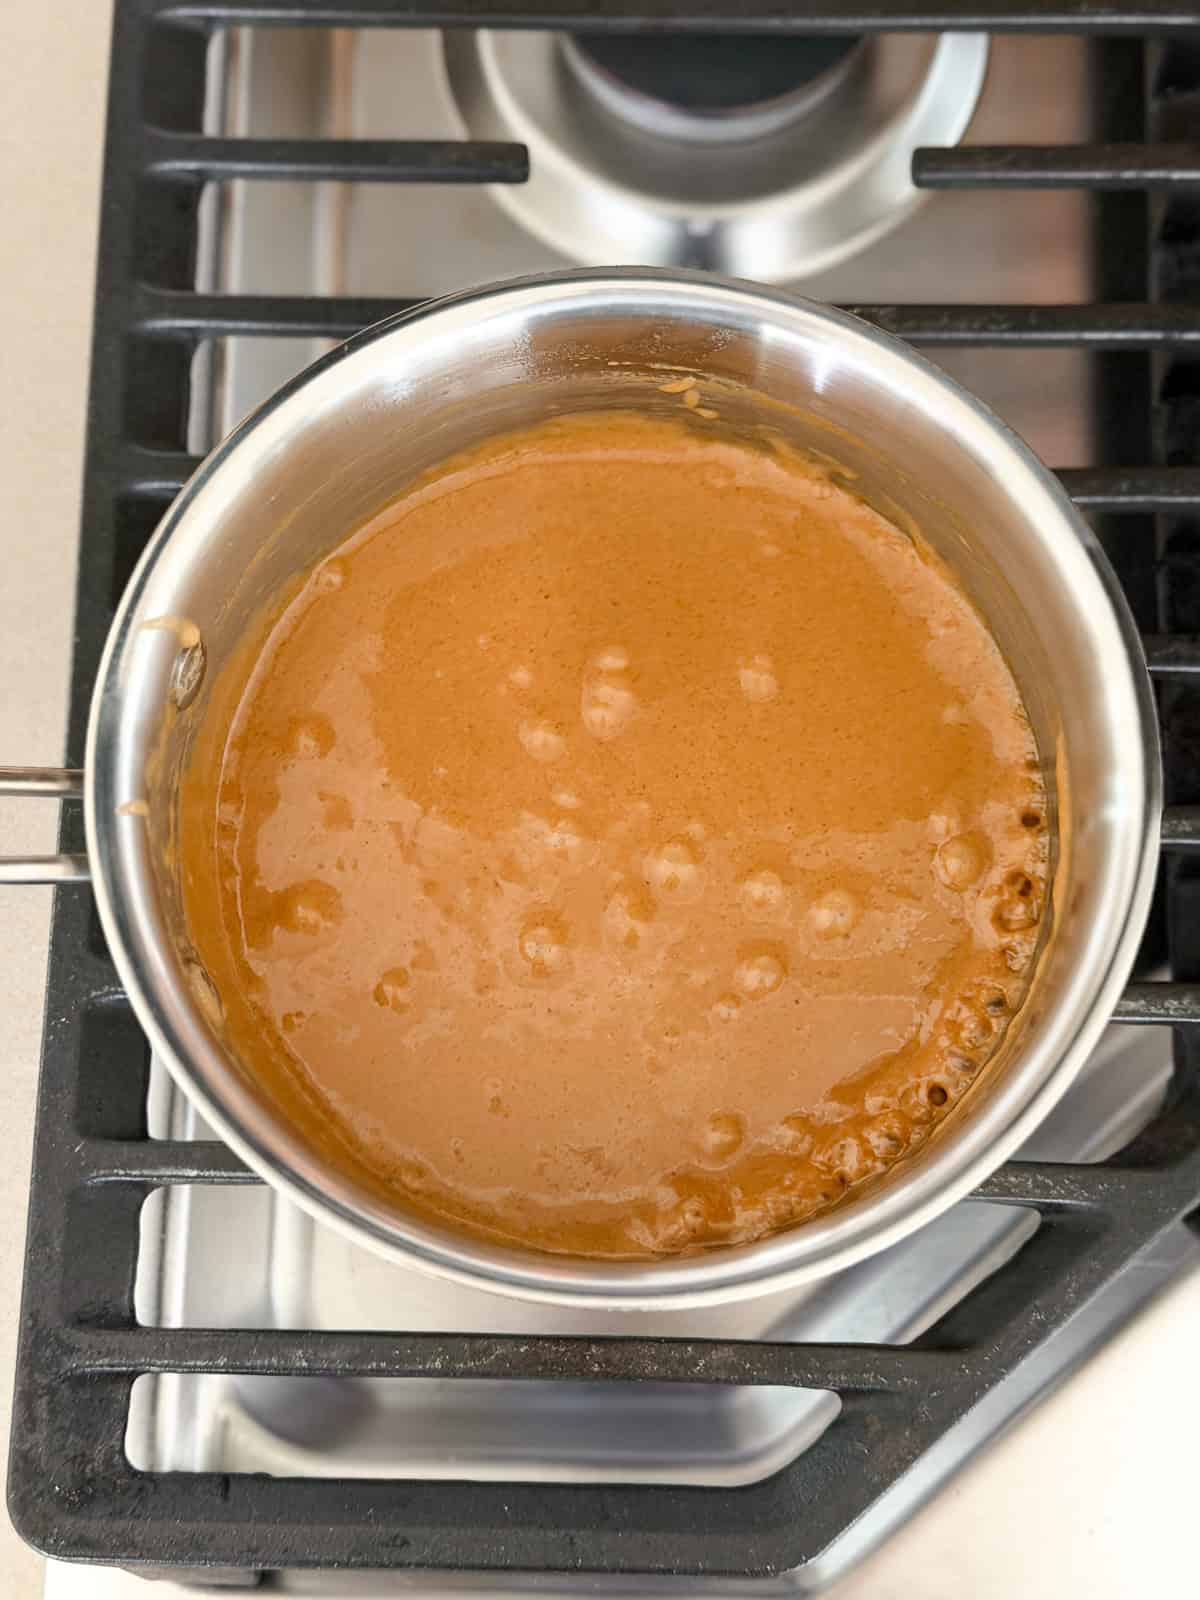
- Step 2: Keep whisking the whole time it's cooking. You do not want to walk away from this. If you have a candy thermometer, you're going for 305-310 degrees. If you don't have one, no problem! Whisk for about 8-10 minutes until it thickens, starts to bubble, and turns a golden glossy color.
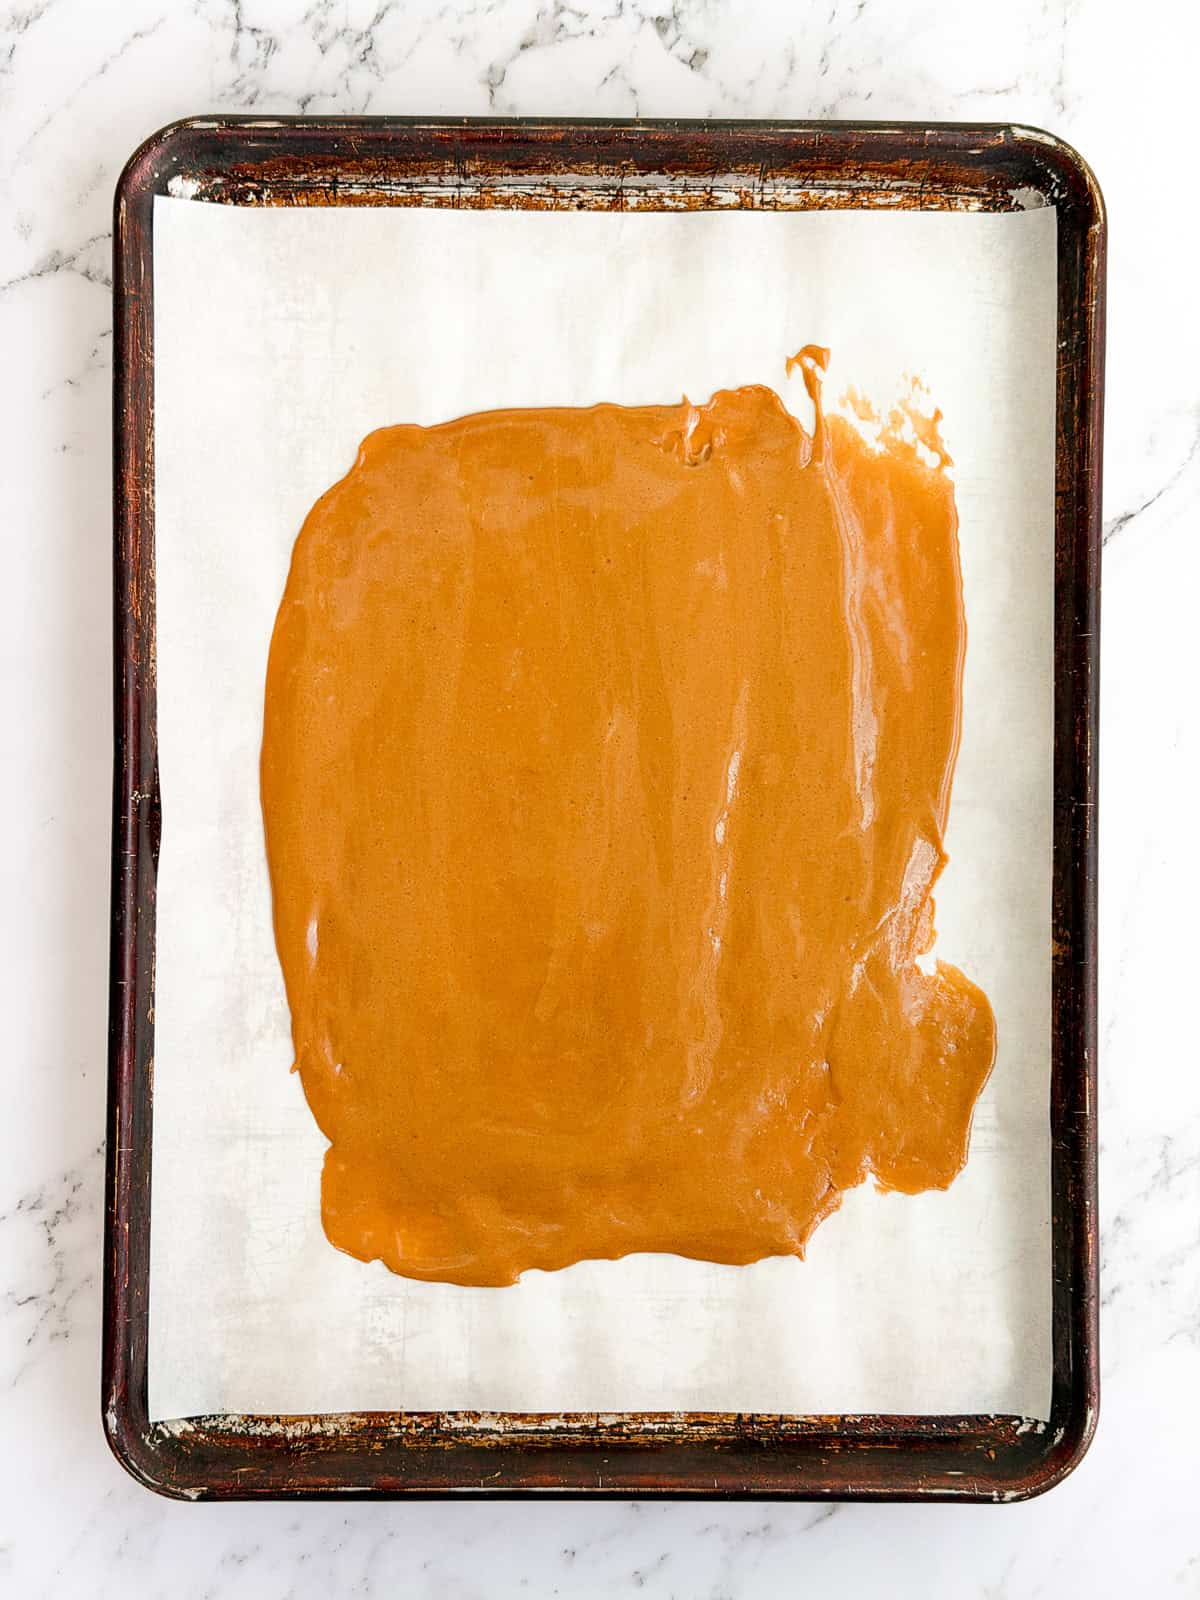
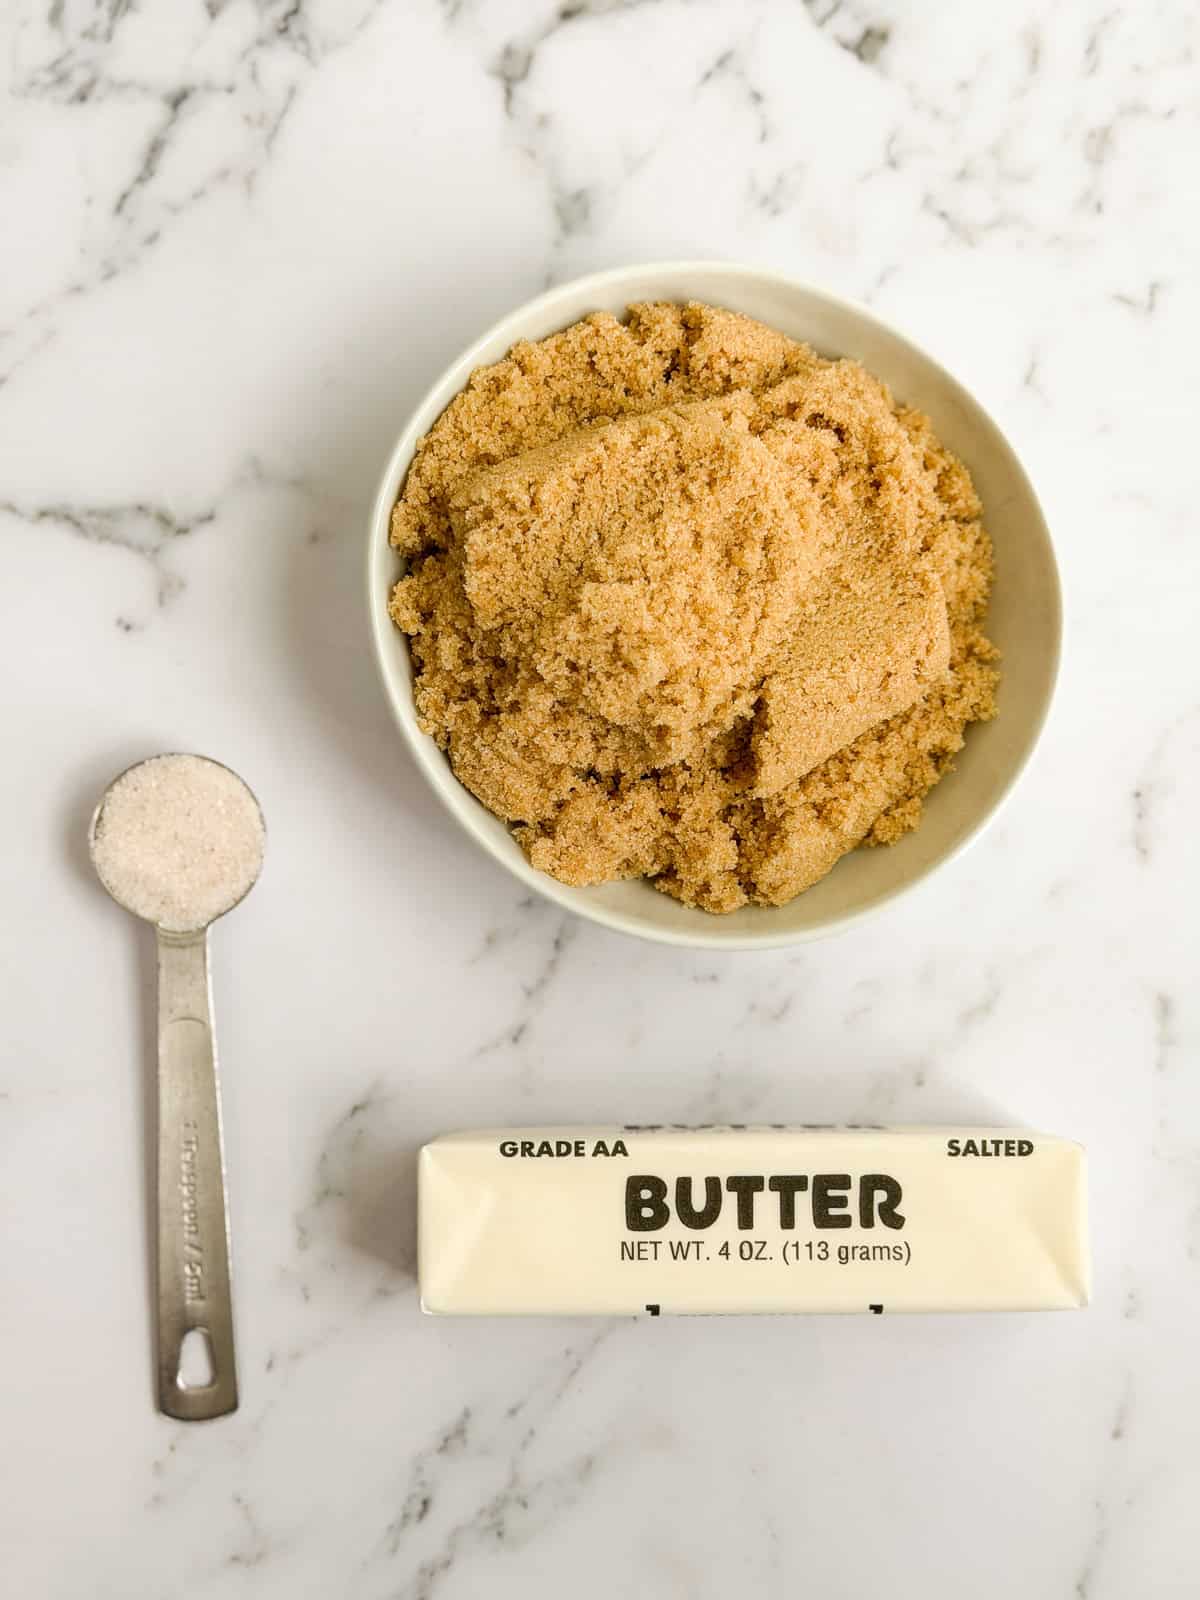
- Step 3: As soon as it's ready, pour the hot toffee onto your prepared baking sheet and spread it as thin as possible with a spatula.
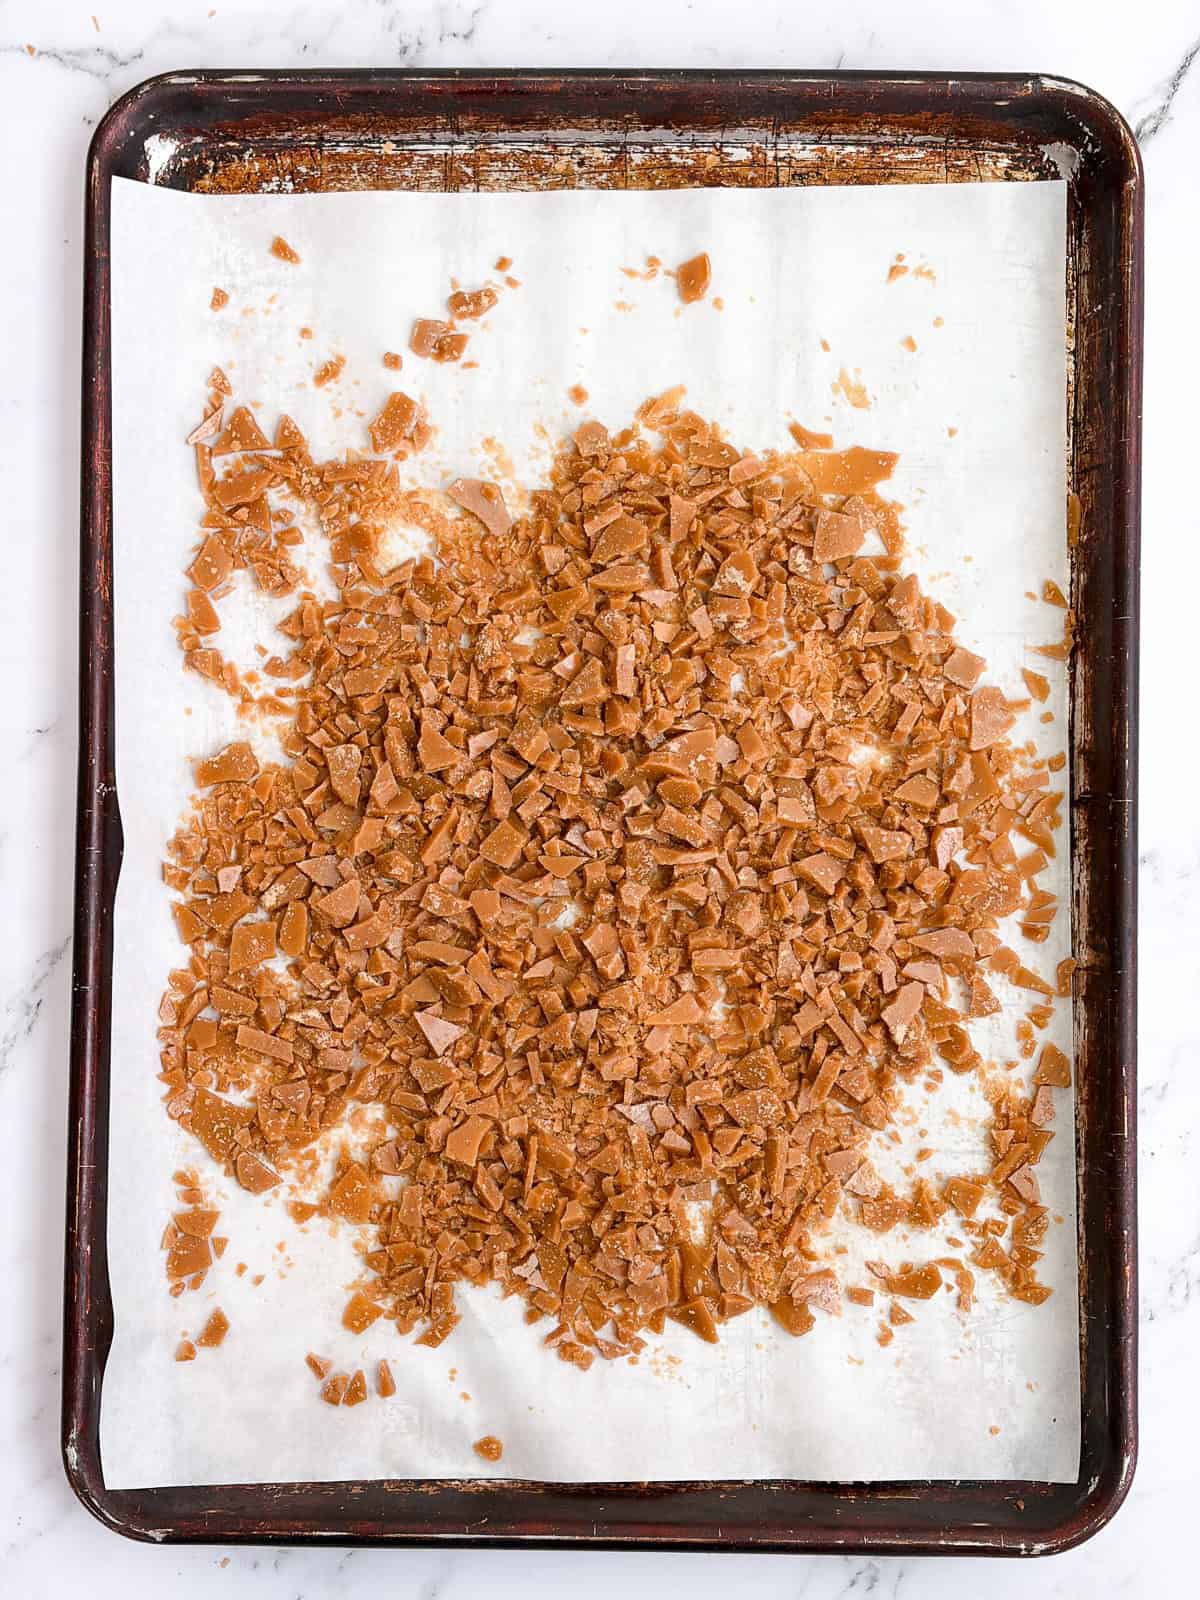
- Step 4: Let it cool completely until hardened. Then break it into very small pieces using a mallet, meat tenderizer, or a rolling pin. Anything heavy enough to do the job works great.
Expert Baking Tips
- Don't stop whisking while it's cooking. Constant stirring keeps it from separating or burning. If it does start to separate, pull it off the heat, keep stirring until it comes back together, then return it to the heat and carry on.
- Spread it as thin as you can on the pan. Thinner toffee breaks into smaller pieces, which is exactly what you want for mixing into dough or batter.
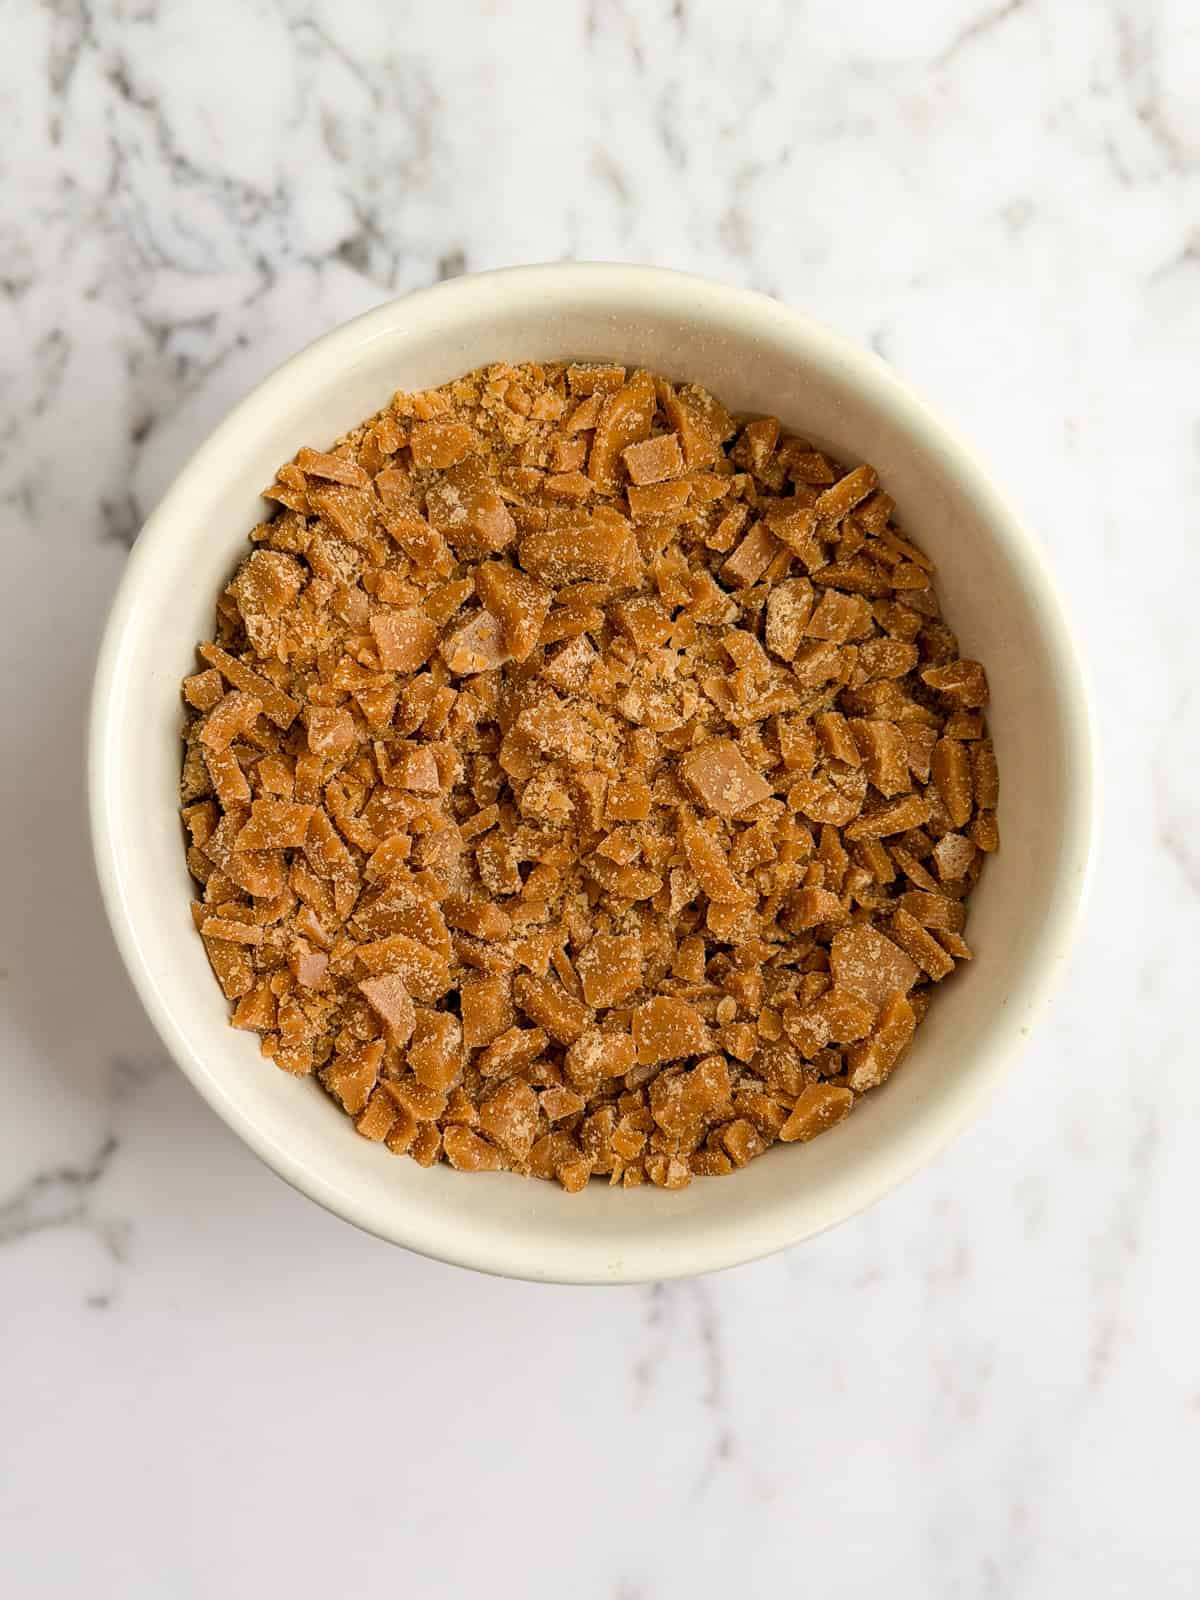
- Once broken up, store the bits in a jar or airtight container and just scoop out what you need. I keep a jar in my freezer for recipes like my coffee toffee cookies so I'm never without them.
Ways to Use Toffee Bits
This is where things get fun. Once you have a jar of these ready to go, you'll start adding them to everything.
- Cookies: Mix a handful into your next batch of chocolate chip or oatmeal cookies. They add a buttery crunch that is so good in every bite.
- Brownies & Bars: Sprinkle on top before baking or fold right into the batter. My Oatmeal Carmelita Toffee Bars use toffee bits and they are one of my most requested recipes.
- Pies: Toffee bits are amazing pressed into a crust or layered into a filling. My Peanut Butter Pie with Chocolate Ganache uses them and the combination of peanut butter, chocolate, and toffee is absolutely unreal.
- Ice Cream: Scatter over a scoop of vanilla or coffee ice cream for an easy topping.
- Blondies: Homemade toffee bits are a natural in blondies. They melt slightly as they bake and create these little pockets of caramel throughout. My Brown Butter Salted Toffee Blondies are the recipe I'd start with.
For even more ideas on what to bake them into, browse through the brownies and bars recipes here. Toffee fits into so many of them.
FAQ
No! A thermometer is helpful but definitely not required. Just watch for the toffee to thicken, bubble steadily, and turn a deep golden glossy color. That's your cue it's done. Around 8-10 minutes of whisking over medium heat usually gets you there.
Yes! While the toffee is still hot and just poured onto the pan, scatter some chocolate chips on top. They'll melt from the heat. Spread the chocolate into a thin layer and let everything set together. It makes a great toffee bark.
Don't panic. Try removeing the pan from the heat and keep stirring until it comes back together. Once it looks smooth again, return it to the heat and continue whisking.
Storing & Freezing
Once your toffee bits are broken up, store them in an airtight container or jar at room temperature. They'll stay fresh and crunchy for up to 2 weeks.
You can also freeze them. Place in a jar or container and freeze for up to 3 months. They hold up really well and are great to have stocked for last-minute baking.
Other Popular Recipes to Try

For more yummy treats follow me on instagram @thesaltedsweets. And be sure to tag me and comment if you make them and love them as much as I do!
Homemade Toffee Bits
Ingredients
- ½ cup (113.5 g) salted butter
- 1 cup (220 g) brown sugar
- 1 teaspoon salt
Instructions
- Line your baking sheet with parchment paper or a silpat and set aside.
- Place your butter in a small saucepan and melt over medium heat.
- Once your butter is mostly melted add in your brown sugar and salt and start whisking. You will want to continue whisking the whole time it is cooking so that it doesn’t separate or burn. If you have a candy thermometer you are whisking until it is 305-310 degrees. If you don’t have one you are whisking for about 8-10 minutes, or until it thickens, starts to bubble and turns a golden glossy color.
- As soon as it is done pour your hot toffee onto your prepared baking pan and spread as thin as possible. Then allow it to sit and set.
- Once it’s cooled and hardened, break into very small pieces. I use a mallet or meat tenderizer, but a rolling pin, glass or anything heavy enough to break it up.


Leave a Reply